Horizontal End to End Joint – CC1

$0.00

Description

Product Information:

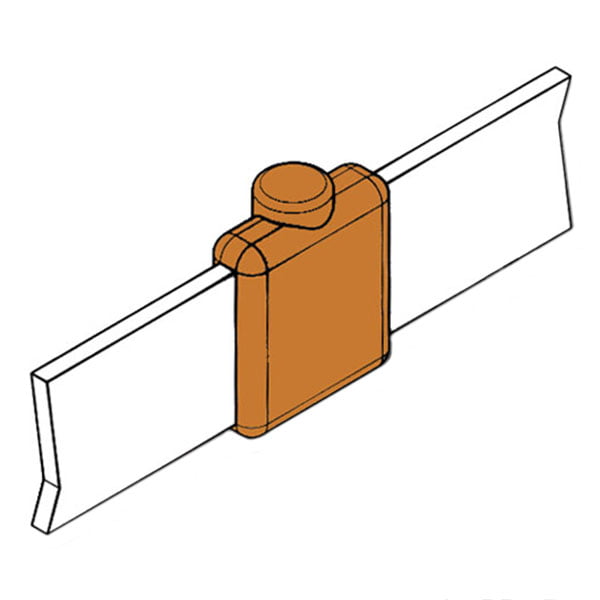
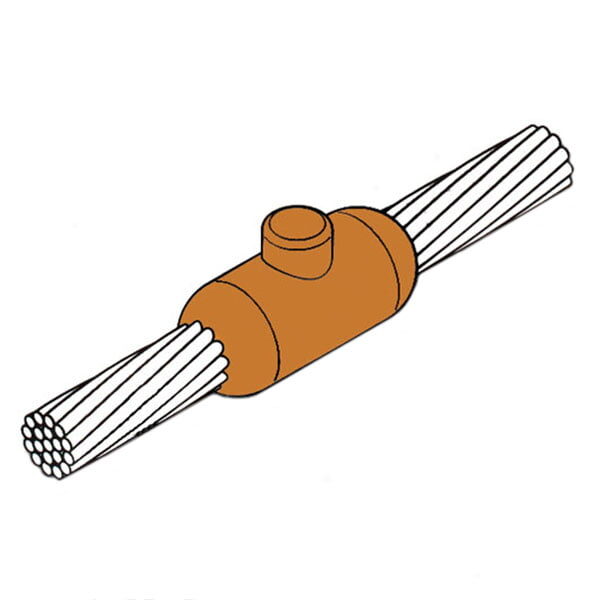
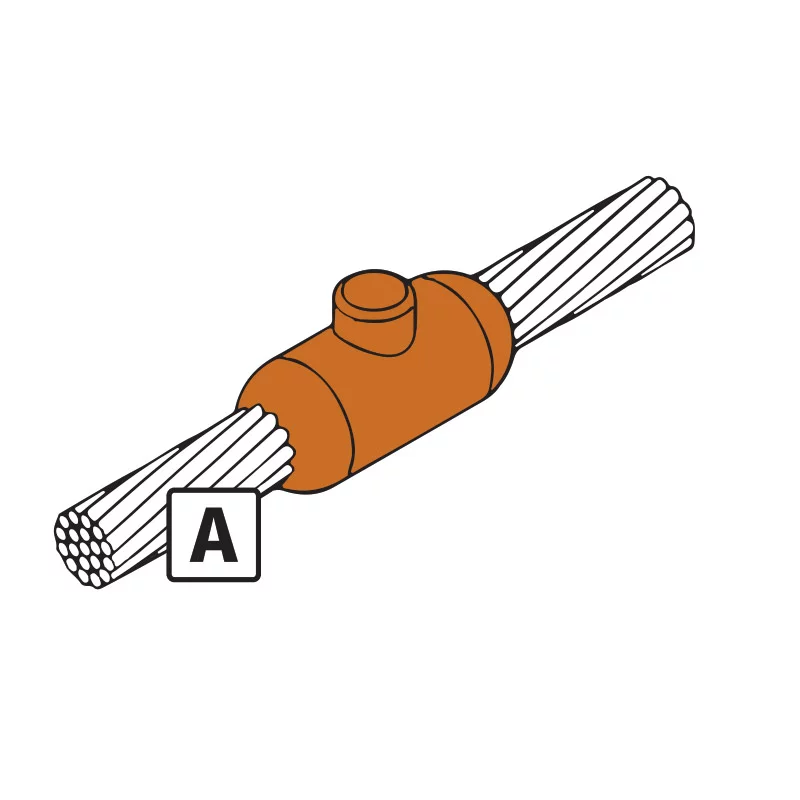
Horizontal End to End Joint – CC1 is a cable to cable exothermic welded connection that requires a HCD or HCE Handle Clamp.

Features:

The Greenwire exothermic connection is a permanent, maintenance-free weld that will not loosen overtime or deteriorate with age .There is no increase in resistance in an exothermically welded connection, unlike in most pressure type (bolt/crimp) connections i.e. copper ground rod or grounding cable attached with ground rod clamps or cable terminal. A Greenwire weld metal consists of copper oxide, aluminum and flux in a granular (powder) form. Comes in standard sizes.

Greenwire exothermic mould is manufactured from high quality graphite. This lends itself to easy machining, as well as being able to withstand the high thermal and mechanical shocks produced during the exothermic welding process. Heat obtained in such reactions is in excess of 2000º C.
Our moulds are deisgned to have an average lifetime of 50 to 60 connections. But, if treated with care, it is possible to obtain a significantly longer life.
Graphite is both brittle and soft, therefore it is important that the operator takes care while handling the product. Worn-out or damaged moulds should not be used.
Each mould has a nameplate, detailing the connection type, part code, and the correct weld metal size to be used.
If you do not see the connection, configuration or size of conductor that you require, please contact our sales office who will be pleased to assist you.

More Information:

To make a Greenwire connection certain items might be required such as a Greenwire mould, Handle Clamp, Weld Metal, and/or Flint Gun.

Mould Care Guide:
Greenwire moulds are manufactured from high quality graphite which, by nature, is soft and needs to be handled with care in order to get the maximum lifetime.

  • Always clean the mould after every weld
  • Only use Greenwire cleaning equipment (soft brush) to clean the mould
  • Keep the mould dry and away from moisture
  • Do not hit or drop the mould
  • When not in use, keep the mould in its packaging for protection
  • Try not to hit the edges of the mould with the conductors to be connected • Never use a wire brush to clean the mould
  • Always use the correct weld metal size, tools and handle clamps

Mould Inspection:

  • Handle the mould with care.
  • Mould must be dry with fixed lid.
  • Identification plate must be attached.
  • Mould faces must be smooth,so they seal properly.
  • Mould steel disc seat must not show signs of wear, chips or gouges (steel disc must seal the hole properly to prevent weld metal entering the weld cavity prior to welding).
  • Tap hole must be well defined.
  • Weld cavity must not show signs of wear, chips or gouges (conductors must have a 3mm gap between them prior to welding, fit snugly and not be loose in the mould).
  • REGULAR CHECKS HELP KEEP MOULDS IN GOOD CONDITION

Additional information

A (mm)

16, 25, 35, 50, 70, 95, 120, 150, 185, 240, 300, 400, 10 dia, 12 dia, 14 dia, 16 dia, 18 dia, 20 dia, 25 dia, 32 dia

How to Install

The Greenwire Process:

There are 6 steps in how to execute a Greenwire exothermic process:

1. Position cleaned conductors in the mould. Make sure the mould is dry & moisture-free by pre-heating or making a test connection.

2.Place the metal disc in the bottom of the mould crucible . Discs are supplied with the weld metal .

3.Pour weld metal into the mould crucible. Weld metal is under the green cap. Pour all weld metal into the crucible.

4.Add starting powder to the weld metal. Starting powder is under the red cap. Pour on top of the weld metal. Add a small amount of starting powder to the lip of the mould – to aid ignition – and close the lid.

5.Use the Flint gun to ignite starting powder. Pull flint gun away as soon as trigger is pulled to keep from fouling flint gun. CAUTION: Do not place any exposed body part directly over lid or in front of opening.

6.After approximately 20 seconds open the mould with the handle clamp. Knock off slag with the mould cleaning brush handle and clean the mould thoroughly, including the cubicle and lid.